If you’re exploring the perks of homebrewing you probably wonder about the cleaning part. Since everything must be properly sanitized, you need to invest in a suitable brewing sanitizer. And if you wonder how cleaning brewing equipment works, here are a few things to keep in mind.
Types of Brewing Sanitisers
Iodine-Based
Mixing a small amount can yield a large batch, making it quite cost-effective. It can remain effective for weeks to months when stored in a sealed container, and a simple and inexpensive iodine test strip can be used to verify its effectiveness. The downside is the easy staining, so you need to be cautious not to spill it on any surfaces. Be sure to carefully check its concentration to prevent your container from turning brown. Additionally, you must allow items to air dry before using them, as any remaining liquid can impact the flavour.
Oxygen-Based
If you’re searching for cleaning brewing equipment, chances are you’ll come across many oxygen-based products. These are perfect for beginners in brewing thanks to their simple one-step process that is difficult to mess up when used with new equipment. They work as both a cleaner and sanitisers. The downside might be the timing, since you must use them immediately, within 30 minutes. They aren’t suitable for use in spray bottles, so soaking is the only option. After initial use and contamination, the equipment must be thoroughly cleaned and sanitized again for effectiveness.
Sodium Metabisulfite
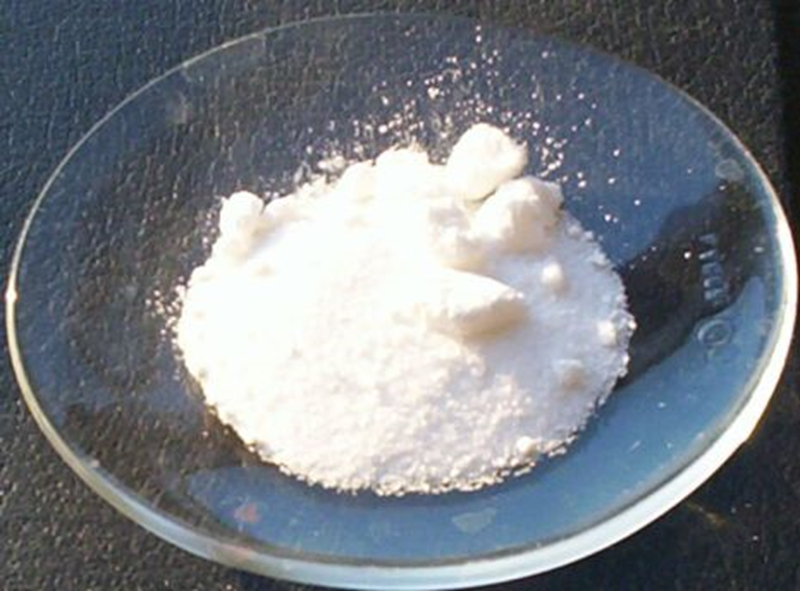
You can easily sanitise with 1250 ppm – just add around 3 tablespoons per gallon. Plus, if you store it in a sealed container, it remains potent for 2-3 months. It’s cost-effective, and since your wine already contains sulphite, any excess won’t make a difference.
Acid-Based
These work wonders on clean equipment without leaving stains, except for granite counters. The bottle is convenient with measurement lines for making just the right amount of sanitiser for home brewing. Plus, it lasts for months when stored properly in a covered container.
Thorough Cleaning
Start by thoroughly cleaning your equipment before moving on to sanitizing. Cleaning is essential before sanitizing, as any dirt or grime left behind can lead to unwanted bacteria in your beer. Make sure to use a high-quality cleaning agent like PBW or Oxiclean to ensure a thorough cleaning.
Is Dish Soap OK?
Sure, you can use dish soap if you want to. It’s a budget-friendly option that you probably already have in your kitchen. Just make sure to rinse it off well, otherwise, your beer might end up tasting soapy and lose its foaminess. If you’re going for dish soap, choose a fragrance-free one. However, even though it’ll do the job, it’s best to choose a cleaning agent meant for this job.
What About Bleach?
Surprisingly, bleach is used as a brewing sanitiser. It’s been a go-to for homebrewers for a long time. However, even though it does the job, you have to do an excessive rinsing, because even a small residue can entirely ruin your beer batch. You have to rinse it excessively like you’re overly cautious. Let’s not forget it can damage your clothes, leave stains on your bar towels, and bring back dreadful memories of swimming lessons from your childhood.
Clean It All
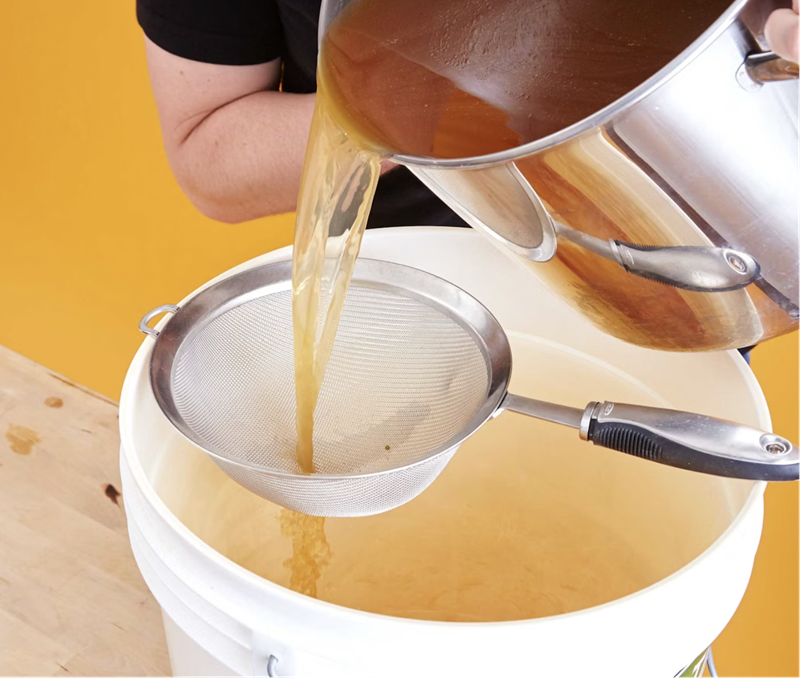
Make sure to thoroughly clean all the things that will come into contact with your beer. On brew day, this includes the fermenter (carboy), airlock, funnel, fine mesh colander, thermometer, and big spoon. On bottling day, don’t forget to clean the hoses, auto-siphon/racking cane, bottling bucket, bottles, and anything else that will touch your beer. It’s important to keep everything clean to ensure the quality of your brew.
Soak for 20 Minutes
Give your equipment a 20-minute soak in your preferred cleaning solution, making sure to scrub gently to remove any residue and dirt. Remember, certain items like hoses, airlocks, and racking canes can’t be scrubbed, but the soak should still do the job. If you come across any stubborn residue that won’t budge even after soaking, it’s best to replace the equipment. It’s best to replace your hoses after every 10 batches for added safety. If you want to give a piece of gear one last chance, try soaking it for 24 hours. But if it still hasn’t improved, it’s time to let it go.
Don’t Forget to Sanitize After Cleaning
After cleaning your equipment, make sure to sanitize everything that will touch the wort post-boil. On the brewing day be sure to sanitise the fermentor, airlock, airlock stopper, thermometer, funnel, yeast packaging and the scissors (in case you use dry yeast). On the day of bottling, you need to sanitize the bottles, bottling bucket, auto-siphon, hoses and bottle caps.
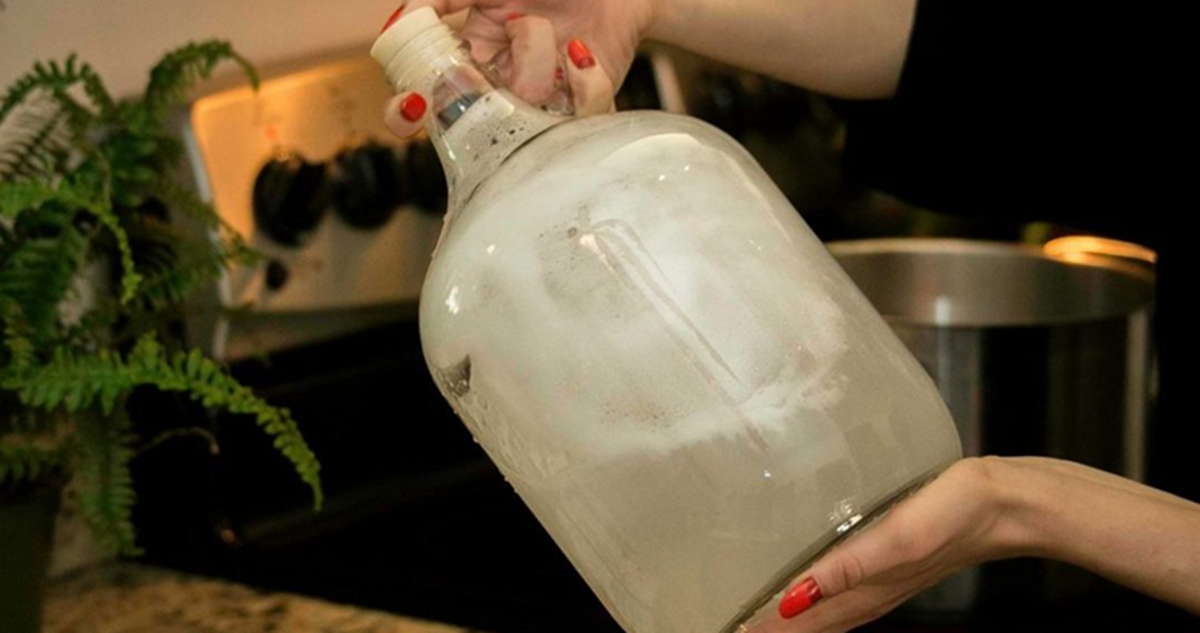
Soak and Spray
Prepare a sanitizing solution in a bottling bucket (4.7 litres of water) and soak all the equipment that requires sanitizing. All it takes is one minute of contact time with the solution, and your gear is ready to use. For the trickier items, use a spray bottle filled with sanitiser solution to thoroughly spray the gear. After waiting a minute, it’s good to go.

Leave a comment